CRAFTS TUTORIALS – NEEDLE BOOK
During the “interesting” time, there is time to look inside and around you and organize drawers, cabinets, thoughts ….. I want to share my world with you, trying to help you spend time usefully. I will post small tutorials in this album, according to which you can make necessary objects for yourself or a friend. You might not have been able to do it at a fast pace, but now, in an emergency, you can arrange every little detail.
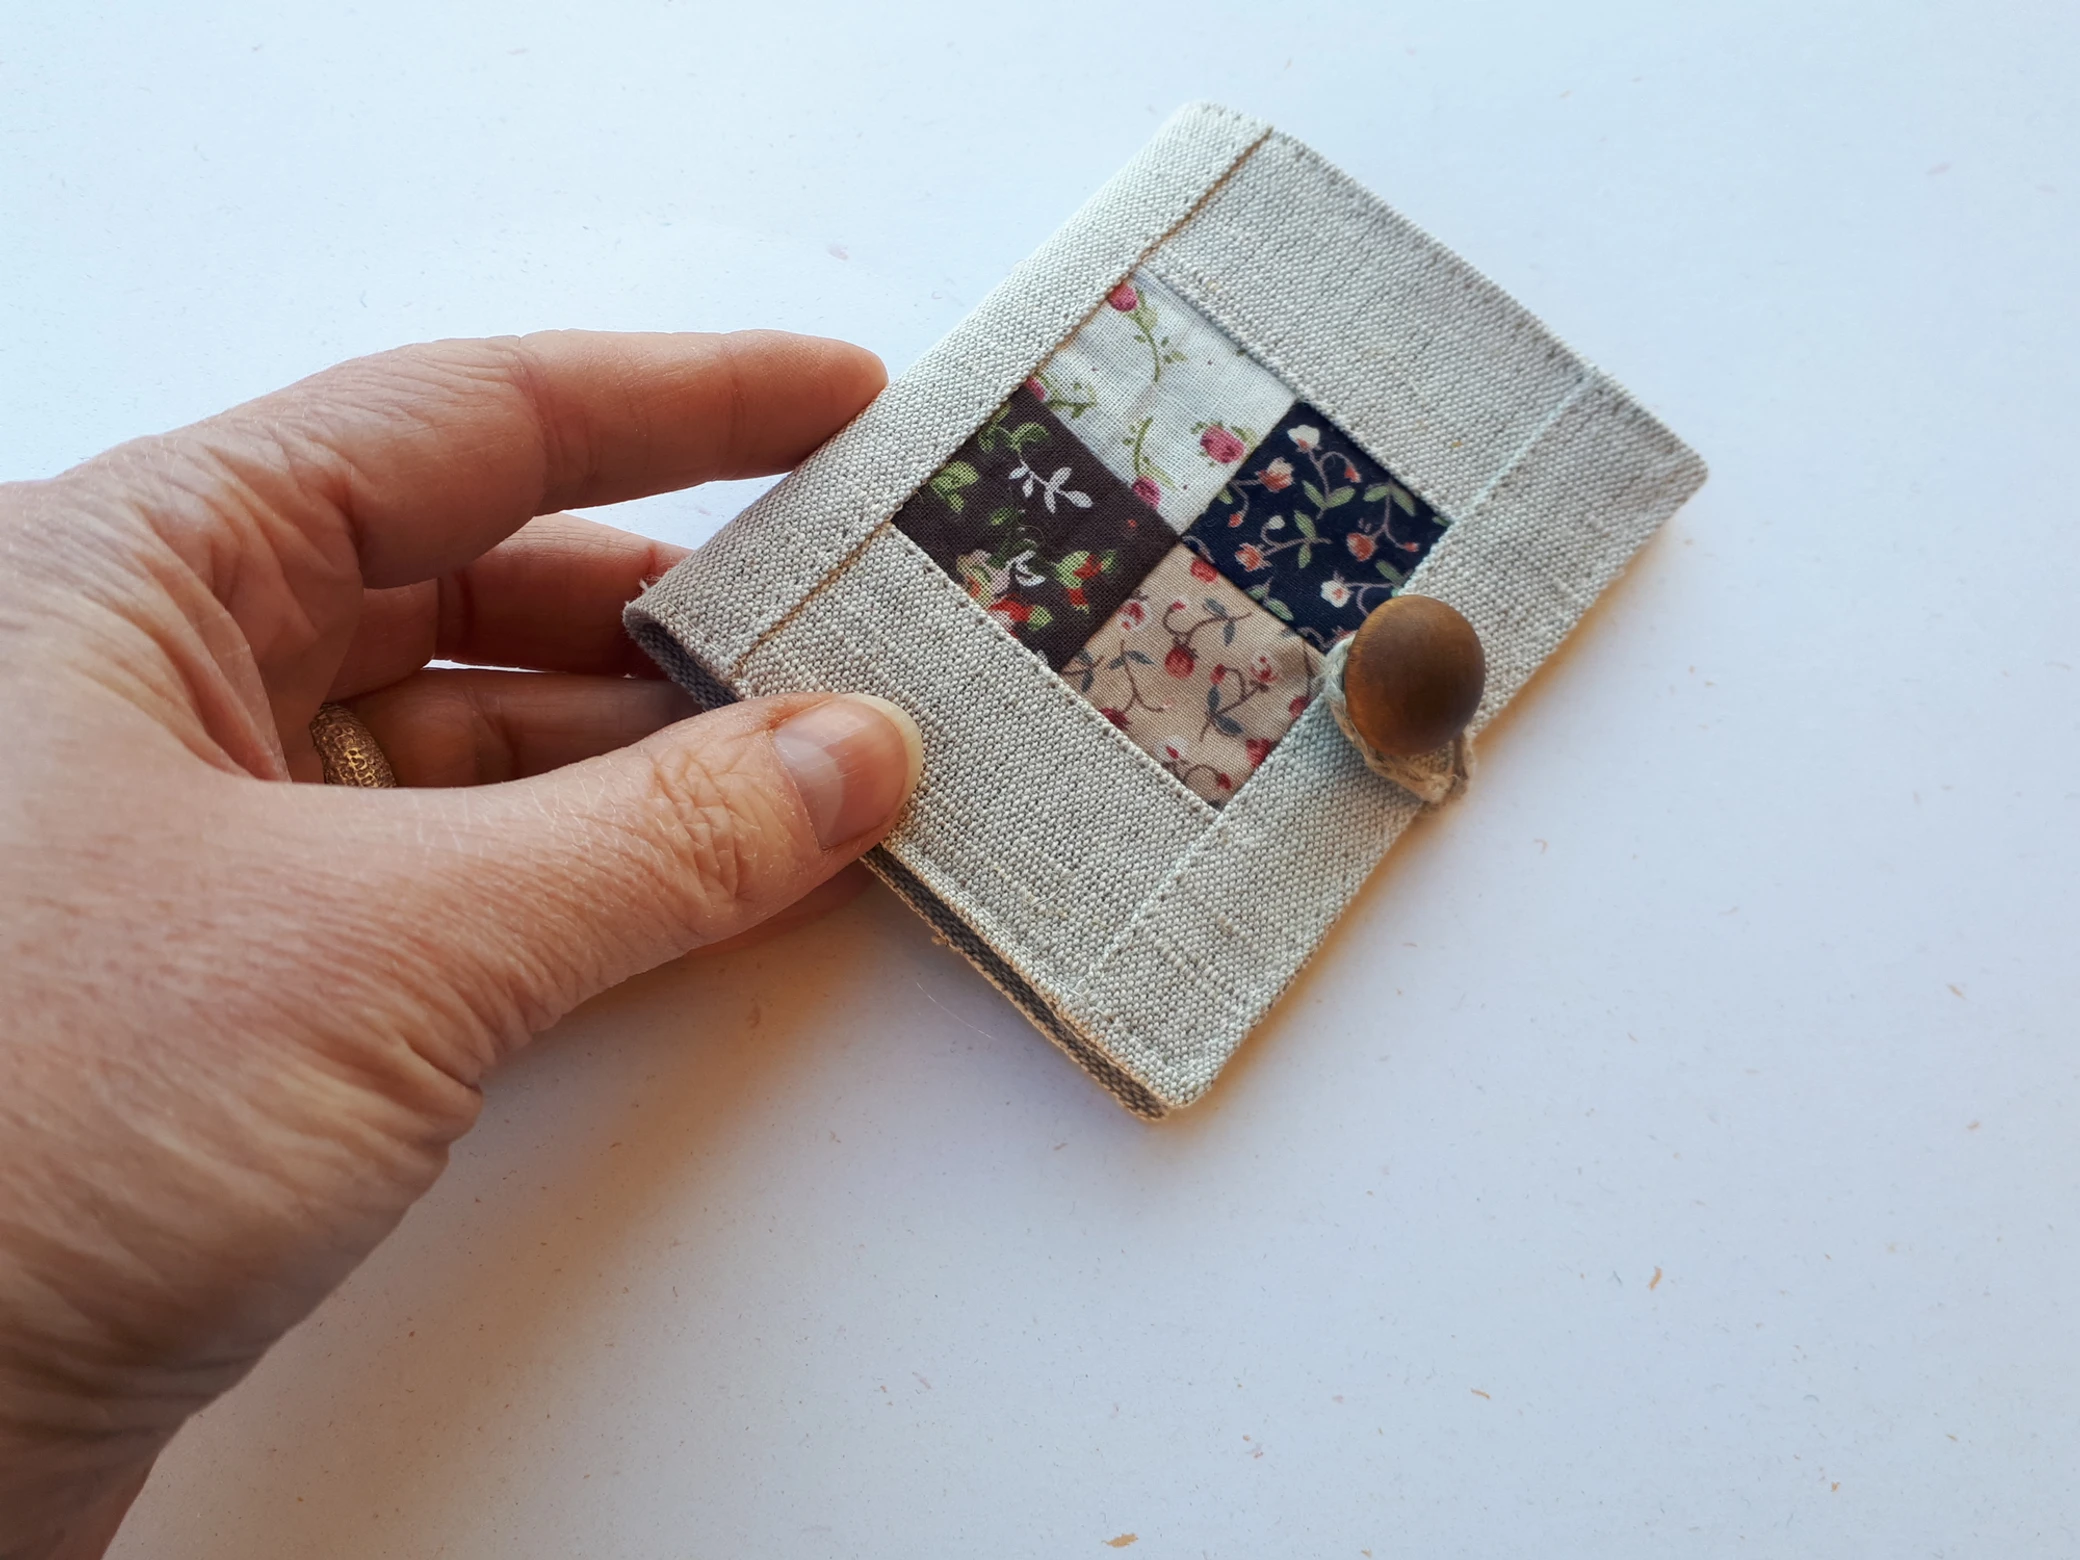
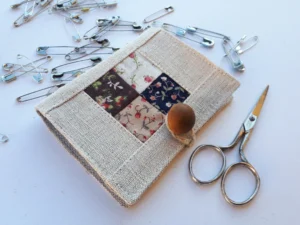
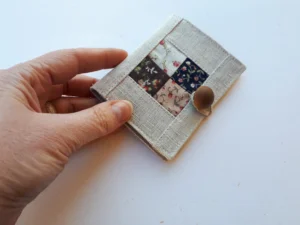
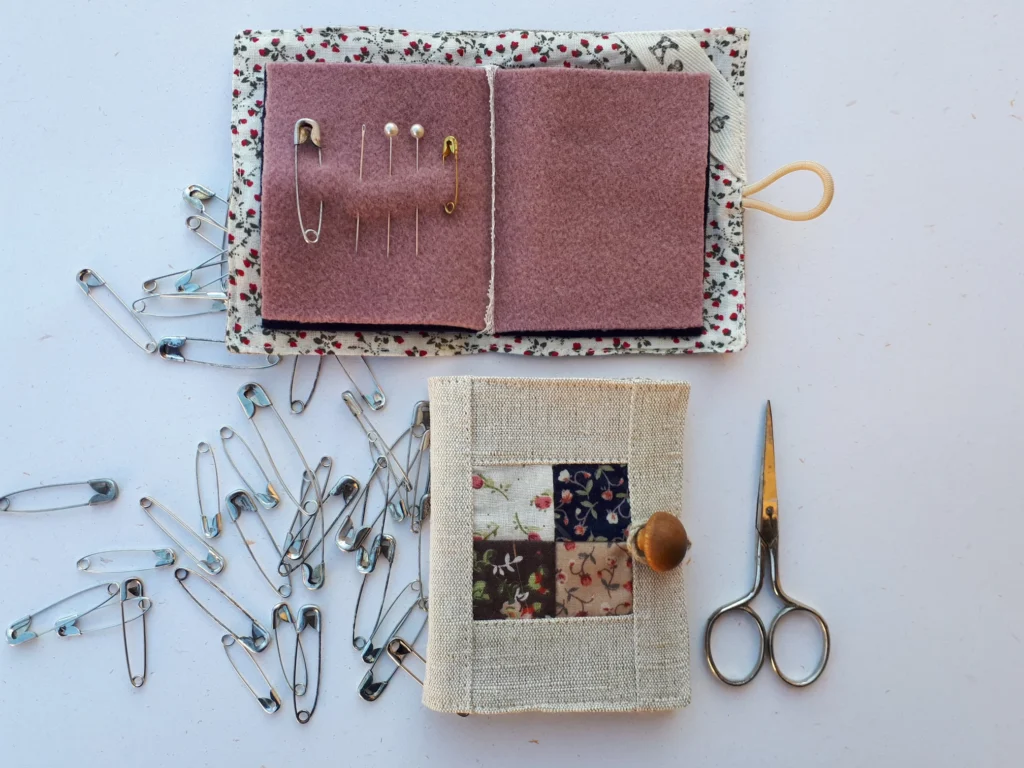
Today we make a NEEDLE BOOK. THE NEEDLE BOOK is a seemingly impractical gadget. However, you will only realize the need for it when it already exists. You only need a little of everything to make it: a solid colour fabric, a small patterned quilt fabric, a wool coat fabric, a rubber cord, a button and a piece of lace for vanity as well. The advantage of the needlebook over the needle pad is that it is very convenient to take the book with you!
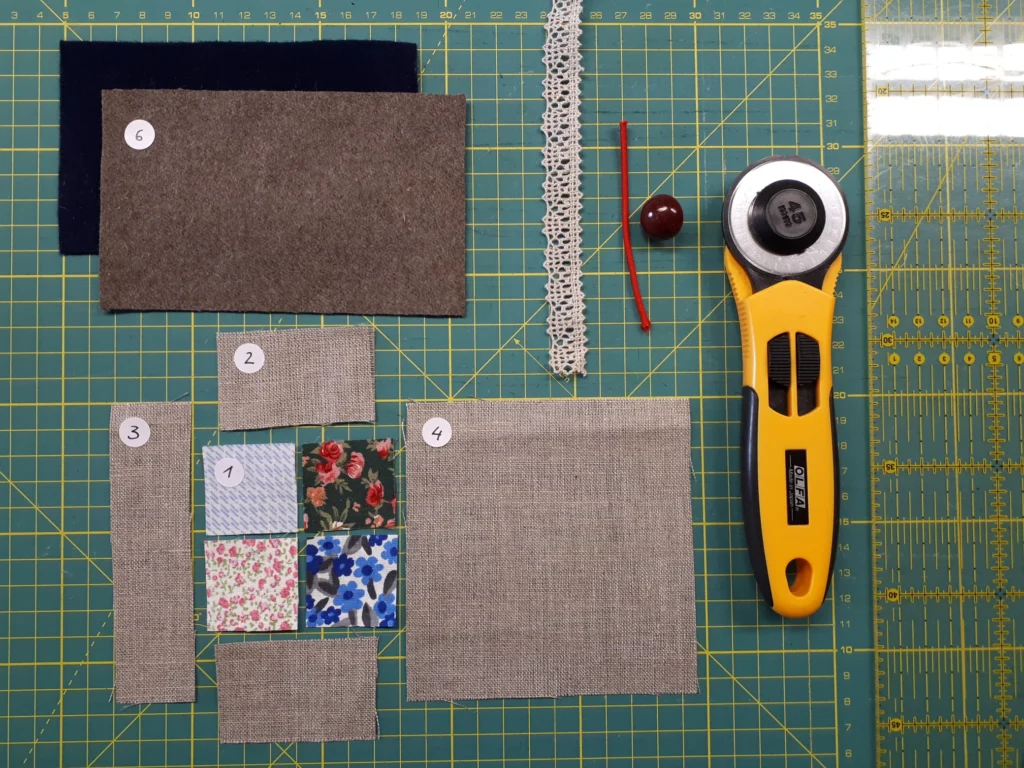
Cut the needlebook details. A seam allowance of 0.5 cm has been added to the dimensions.
1. 4pcs of different small patterned quilt fabrics 3,5×3,5cm. All squares could be of a different fabric!
2. Monochrome fabric 4x6cm 2pcs.
3.One-color fabric 3×11.5 1pc.
4. 11.25×11.5 1pcs of single-coloured fabric.
5. The lining of a single colour or patterned fabric 11.5×17.5 1pc. You will get a very good result if you use one of the fabrics that you have chosen for decoration as a lining.
6. Book pages made of woollen mantle fabric 14×8 2pcs. You can also use pieces of aged sweaters or other wool fabric for “book pages”, the main thing is that the edges of the fabric do not branch.
Tutorial:
1. First, connect the small patterned squares. It’s like a little patchwork. You can add lace for decoration.
2. Then the details of the upper part of the needlebook 2,3,4.
3. Attach the needlebook to the rubber band with a cord loop (loop rubber length 8 cm). Leave the ends of the rubber 0.5 cm above the cutting edge, then it is sure that the rubber will not come off the needlebook during use.
4. Join the resulting detail and the right side of the lining facing each other, leaving an opening of about 5cm on one side.
5. Cut the seam allowance at the corners and turn the workaround, the edges of the quilt 1mm away. This also secures the inverting hole and keeps the rubber eye in place.
6. Attach book covers to the mantle fabric. You can add lace for decoration.
7. Attach the button to the work.
8. Enjoy a moment when you can use your own needlebook. The advantage of the needlebook over the needle pad is that it is very convenient to take the book with you!
GOOD LUCK! #stayhome

Triinu is Katre’s daughter and the brand manager of Katré. Triinu has always been very interested in and excited about fashion. One of the earliest memories she has is her browsing Vogue magazines and dreaming of wearing all the great masterpieces shown in the catalogue.